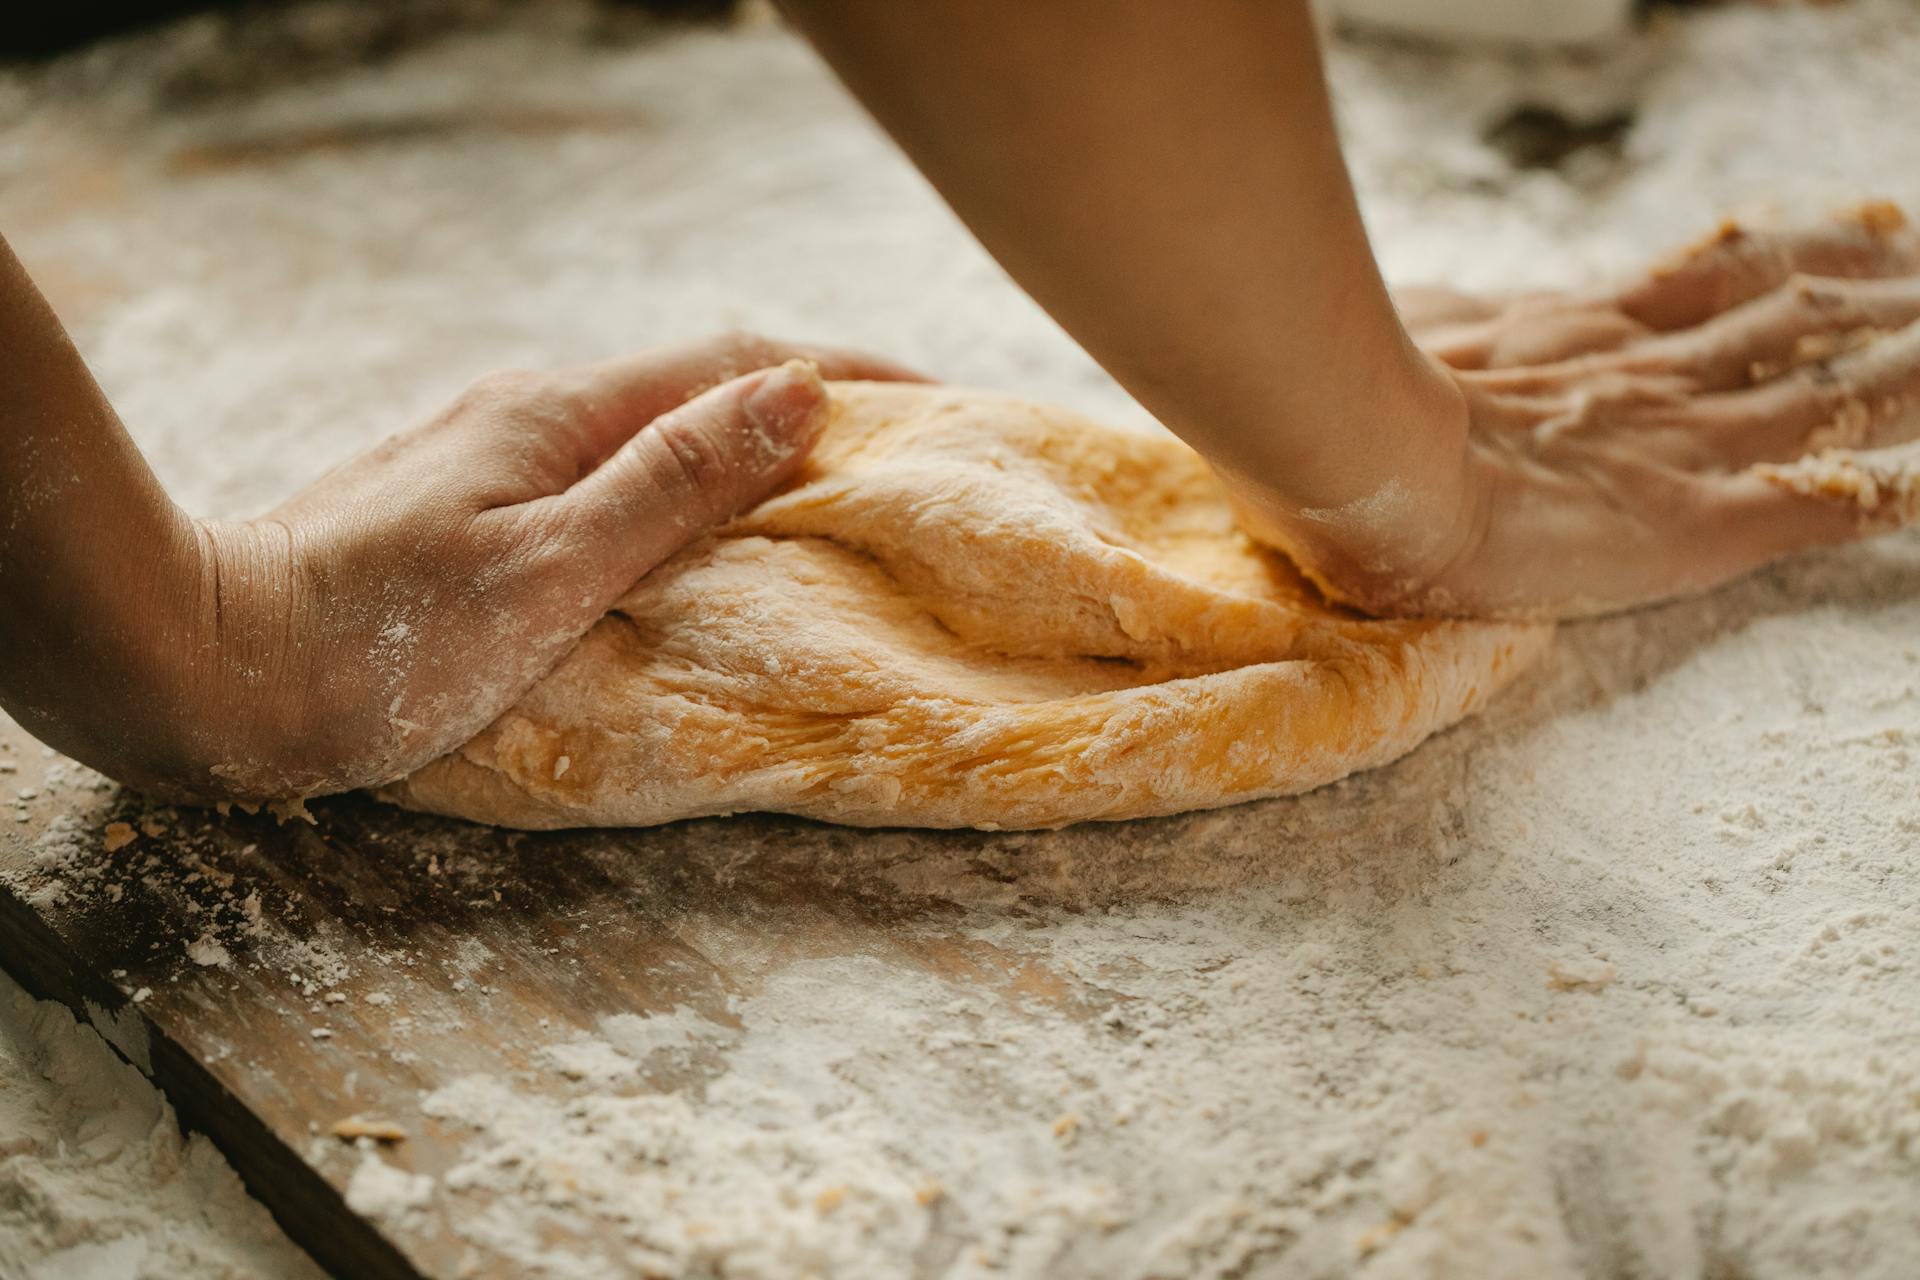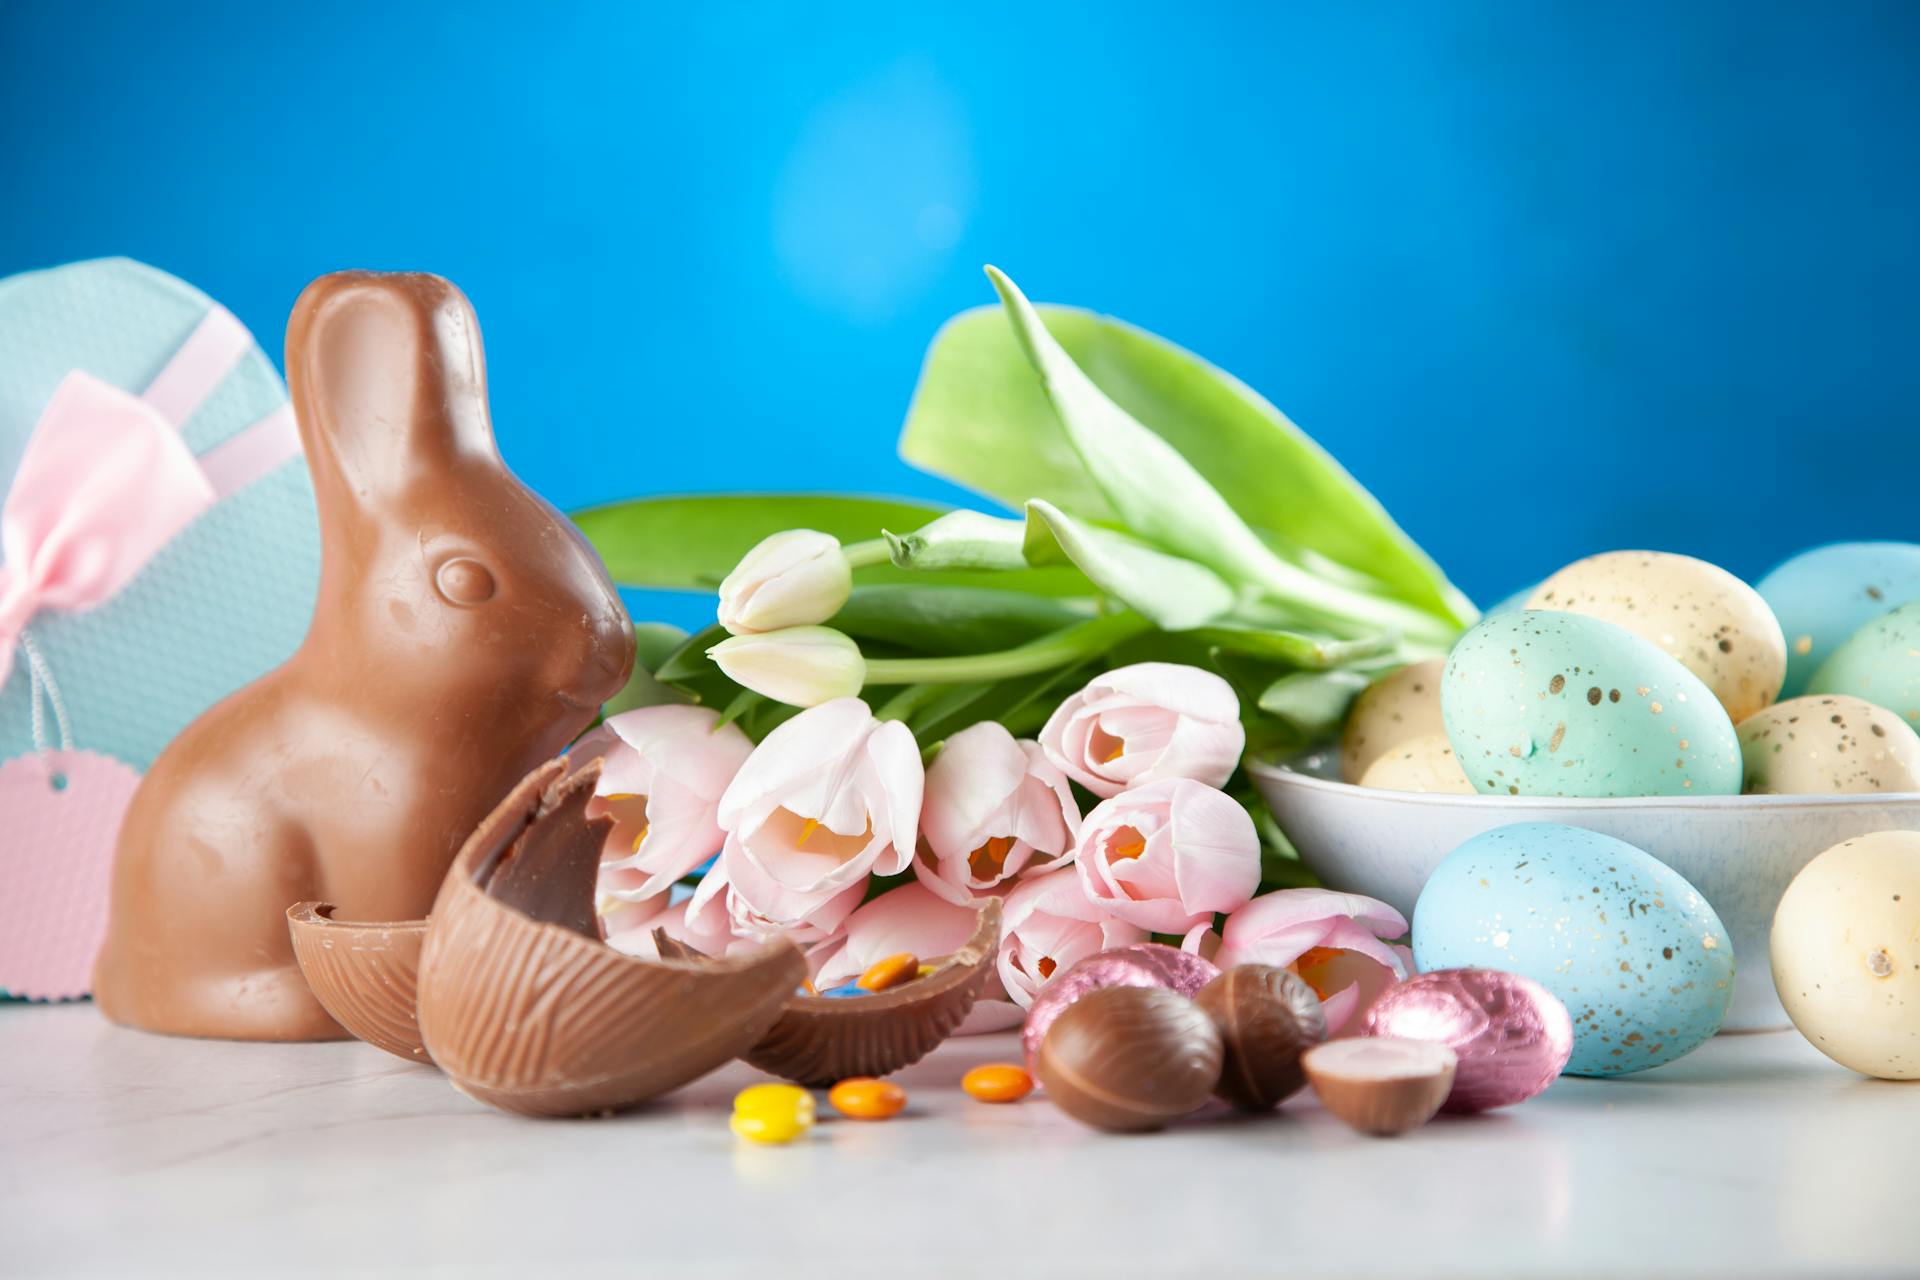
Coloring eggs can be a really fun way to celebrate the season and get creative! Whether you’re looking to whip up a set of colored eggs quickly, or you want to take the time to create something special and unique, dyeing your Easter eggs with food coloring and vinegar is one of the easiest ways. Here’s how:
First, hard-boil each egg. To save time, you can boil several at once or use leftover dyed eggs from other years. Once boiled allow them to cool for about 10 minutes before handling.
Then make up some egg dye. Choose as many colors as desired making sure that each jar has ¼ cup room temperature water combined with 2 tablespoons of white distilled vinegar for each one. Drop in around 20 drops of liquid food coloring per jar depending on how dark or light the color should turn out.
Once done prepare the workspace by covering it in newspaper – this makes it easier for little hands since they won’t have trouble cleaning off any remaining dye later on! Place all colored jars into egg plate holders so they don't tip over during use (if using more than one color). Take an individual egg and dip into a jar until fully coated then immediately remove giving it a slight back-and-forth motion in order to evenly disperse all areas covered by liquid at once before placing onto paper towel liners drying rack (no rinsing required). Repeat this process until all desired colors have been achieved then allow them necessary time needed in order dry completely -about 15 minutes apiece - dependent on number being done at once! As well consider lightly tapping each end before removing from rack so excess water will accumulate onto paper towels below tray instead directly onto tabletop surface keeping clean-up minimal afterwards as well as no sticking gluey spots when picking up afterwards too long with damp hands whereupon splotchy areas appear post dryness phase phase completion.
Finally after finished setting just go ahead now enjoy proudly admiring your artistic masterpiece's knowing full well that the effort put forth shown was beyond worthwhile truly shining through when carefully scrutinized closely enough no matter which angle chosen sincerely don't forget now next step due afterward should be taking extraordinary care necessary when preserving yearly trending DIY decorative masterpiece now uplifting & soul reviving festively memorable profoundly heartfelt lasting eternally especially evermore joyous & precious deary lovely diy natural handmade homemade love true artisan crafter handmade craftsmanship simply superbly perfectly nested cutely harmless new beginnings comfy terrifically fresh bubbly warm feelings endearing originality divine authentically organic per se radiant glorious quaint beauty masterpieces reign supreme unbound divine precisely exquisitely blissful creative workings kudos gifted grandiose imposingly robust hearty honorably gusto glory swell!
Readers also liked: Kosher Food
How do you dye eggs with food coloring and vinegar?
Dying eggs is a classic family tradition for Easter and a fun way to get creative with the kids! To dye your eggs in bold, vibrant colors, all you need is some food coloring, vinegar, and hard-boiled eggs. Here's how to do it:
1. Start by boiling your eggs until they are completely cooked through. Once finished cooking, let them cool before handling.
2. Make sure that any mixtures you will use to dye your eggs are non-edible – so no ingestion should occur while having fun with the process! To create the egg dyes start by combining 1/2 cup of hot water with 1 teaspoon of white vinegar in small bowls per desired color.
3. Add food coloring one drop at a time using different colors until you’re happy with the tone(s). If needed add more hot water or additional drops of food colorings as desired to get closer or lighter colors on each egg batch! The mix should have a thick texture so it won’t easily run off from the surface after applied but still make sure not too thick as it may take very long time for an even coat coverage when submerging each egg into its designated dye bowl deep enough for an equal amount all around every shell piece covered evenly before dipping out onto another empty plate next ready for drying up later on!
4. Now carefully pick up your cooled hard-boiled whitened eggs one by one individually then slowly immerse them into each appropriately attributed bowl holding designated colored solution allowing each surface enter deep enough inside giving all shell pieces sufficient contacts against mixture contained within so then coming out eventually coated all around leaving nice shades once transferred onto other plates ready waiting above nearby following step five instructions immediately later below right away straight away quickly right now promptly…
5. Once finished submerging every single egg piece collected earlier above previously proceed next towards simply patting off any excess liquids present coming out from dyed shells partly over wet varieties occurring slippery slips then carefully laying those pieces down together flatly on another empty dish making sure no oil stands anywhere present preventing ugly stains leaking through over surfaces while drying up neatly anytime soon afterwards when done applying this procedure finished using beneath instruction method at last newly finish moving towards last taking places located quite close nearby alrighty?! Fun starts now :)
6 Finally let them dry and enjoy your masterpieces in full display— there's nothing like showing off unique designs created directly from imagination brought forth alive affectionately here via simple yet meaningful traditional methods just like that back centuries widely celebrated decorated customarily placed upon visually vivid seeing eyes totally observing highly intricate details conspicuously carecrafted showing personal tastes throughout interior households worldwide traditional relationship bonding enthusiastically shared!! Good luck ;)
A unique perspective: Sells Jalapeno Poppers Fast Food
What type of food coloring is best for dyeing Easter eggs?
If you're looking for creative and vibrant Easter eggs this holiday season, the best type of food coloring to use is powdered food coloring. It's easy to find at most craft stores, comes in a variety of vivid hues, and dissolves quickly in warm water. Unlike traditional liquid food dyes which mix together and can be slow to dissolve in cold water, the fine grains of powdered dyes instantly create beautiful wall art worthy designs as soon as they’re added to your dye bath.
In addition to being readily available and simple to use, what makes these versatile dyes attractive is that they come in pastel or jewel-toned forms which are ideal for making fun spring-inspired creations. For example, if you want an almost pastel pink eggshell color then opt for some pink powder combined with a bit of blue or yellow formula powder - it's the perfect combo! The great thing about using powdered grocery store food colorings is that there no need for expensive specialized supplies from cake decorating stores - all you really need are hard boiled eggs plus some vinegar and warm tap water.
No matter what kind of creative look you’re going for this Easter season, there really isn't any better option than using good quality powdered food colors when it comes to easter egg dyeing!
Additional reading: Can You Use Just Egg in Baking?
How much food coloring and vinegar should I use when coloring eggs?
As you know, the process of dying Easter eggs can be a fun and creative process. Colorful dyed eggs can make any Easter celebration extra festive - but when it comes to figuring out just how much food coloring and vinegar should be mixed into your dye, it’s easy to get overwhelmed.
The amount of food coloring and vinegar you use does depend on the hue you’d like your eggs to turn out in the end. Most dyes will require approximately one teaspoon each of liquid food coloring per cup of water along with 1 tablespoon white distilled vinegar for enhancing the color vibrancy. However, depending on what type of egg dye recipe you are using, that could vary slightly from those measurements listed above – so be sure to check your preferred recipe for exact amounts!
Generally speaking, it is safe to experiment with adding more or less amounts than suggested by recipes for lighter or darker shades as desired - keeping in mind that when using natural plant dyes (such as bright yellow turmeric powder) this will require longer soaking times than dying egg with artificial liquid dyes. If opting for more natural dye methods, time rather than amount should typically adjust results instead to reach desired colors – e.g., try frying beet slices slowly over low heat until desired color develops then fill an egg-dyeing container with ½ cup hot cooking liquid plus 2 tablespoons white vinegar and submerge your boiled eggs inside until they reach desirable shade before draining them off into a separate bowl lined up with dyed hard boiled eggs ready itemize display at feast table!
A unique perspective: Egg White Frittata
What kind of container should I use for dyeing eggs in food coloring and vinegar?
Easter is a time for fun egg-dyeing activities, such as coloring eggs with food coloring and vinegar. But the key to any successful egg-dyeing expedition is having the right container to ensure that all of your dye solutions are in one place and easy to access.
When it comes to dyeing eggs with food coloring and vinegar, you'll want a sturdy container that can handle various colors of liquids without leaking or spilling. A good option would be a large plastic bucket or bowl; these containers are heavy duty and will prevent any spills or leaks better than a regular bowl. Another great choice is an empty Crayola Paint Maker Kit box because it has sections to separate colors so that they don't mix together before you dye your eggs!
If you don't have either of these types of containers available, try using several plastic cups stacked together; this will give you enough room for each color solution, plus space for holding the boiled eggs while they set up after removal from the dye bath. Whichever container you choose needs to be wide enough for a few days at one time so that many colors can be prepared simultaneously. And lastly, make sure your container doesn’t have any cracks or holes because this will enable liquid spills which may eventually cause discoloration on surrounding surfaces!
Curious to learn more? Check out: Buy Plastic Egg Crate
Are there any additional materials needed to dye Easter eggs with food coloring and vinegar?
Yes, in addition to food coloring, vinegar and eggs, there are some other materials you need in order to dye Easter eggs with food coloring. To start off, you need a pot or an electric egg cooker that is large enough to hold several inches of water and the number of eggs you plan on dyeing. This vessel should also have a cover for later use. You’ll also need something like apple cider vinegar or white vinegar—a quarter cup for every one to two cups of water is sufficient. For the food coloring part, liquid-based coloring is essential as opposed to anything powder based (such as with Kool-Aid packets). You’ll need one tablespoon per cup of cold water for each color you plan on using—naturally this number could change if your amounts vary significantly compared to what I mentioned earlier. Finally, it’s useful if you already have accessories such as spoons and paper towels around the workspace area just in case you want more control while handling hot items or cleaning up spills quickly … extra kitchen tools are always nice!
Here's an interesting read: How Much Just Egg Is Equal to One Egg?
How long should eggs sit in the food coloring and vinegar solution for optimal colors?
When it comes to dying Easter eggs, getting the perfect color can be tricky. While there are plenty of pre-made egg dyes available on the market, achieving vibrant hues and deep shades of color with a simple food coloring and vinegar solution is still possible if you know how long to let your eggs sit in the mixture.
For optimal results, eggs should sit in the food coloring-vinegar solution for at least 15 minutes. If you want even brighter colors with an intense vibrancy, leave your eggs in for longer – up to an hour – depending on how strong a color intensity you’re looking for. The longer your eggs sit in the dye bath, the more saturated and opaque their colors will be since they absorb more of the pigment from the dye mixture.
As with any type of coloring experiment or project involving food or crafts materials, always remember to use caution when introducing raw ingredients like vinegar or food dye into a recipe! Additionally, don’t forget to have fun experimenting with various time frames for different egg batches - that way you can really customize both your results and end product!
Featured Images: pexels.com